Friday, January 31, 2014

Toasted Farro and Escarole Soup with White Beans

Roughly chop half a fennel bulb (reserve fronds), and then throw it into a food processor and pulse until finely chopped. Sure, you could do this by hand, but unless Jaques Pepin is coming over for dinner, no one's really going to notice either way. Photobucket Pictures, Images and Photos Repeat with half an onion, and a couple of celery stalks. Keep the leaves, if there are any. Photobucket Pictures, Images and Photos Wash a small head of escarole, and tear into pieces. Photobucket Pictures, Images and Photos Render chopped bacon, spooning off the fat. Leave bacon in pot, and add a half cup of Farro. What's Farro? It's the new hip whole grain that all the cool kids are using these days. I can get away with this because apparently, I live in the "Williamsburg of Boston". Photobucket Pictures, Images and Photos Photobucket Pictures, Images and Photos Toast the Farro for about 4 minutes, or until it browns up and you can smell the nutty aroma. Add all those minced vegetables, and cook until soft. Add garlic, cook for about a minute, then add red pepper flakes and tomato paste. Stir to combine, and cook for another few minutes to darken up the paste. Photobucket Pictures, Images and Photos Photobucket Pictures, Images and Photos Add about six cups of broth or stock. You're looking at a combination of chicken and mushroom. Bring to a boil, reduce to a simmer, and keep it partially covered for about an hour, to let the Farro cook. You should check it every 20 minutes or so, just to be on the safe side. As you're checking (and tasting) it, adjust for seasoning. I added some fish sauce, and lemon juice. Photobucket Pictures, Images and Photos When the Farro is cooked (toothsome but not crunchy), add white beans, and let them warm through, about 5 minutes. Photobucket Pictures, Images and Photos Take the pot off the heat, and toss in the escarole. Stir to incorporate. The escarole will wilt, but you don't really want to be cooking it. Photobucket Pictures, Images and Photos Serve with shaved parmesan, reserved fennel fronds and celery leaves, and a drizzle of olive oil. Photobucket Pictures, Images and Photos

Thursday, January 23, 2014

Crispy Chicken with Harissa

Because I gotta be me, I'm using dried chickpeas. I threw a couple of handfuls into cold water before going to work. Photobucket Pictures, Images and Photos That night, boiled the chickpeas about 10 minutes until tender, and I chopped up some onions and garlic. Photobucket Pictures, Images and Photos Photobucket Pictures, Images and Photos Season bone-in, skin-on chicken thighs with salt and pepper, then place skin side down with a few drops of oil in a cold pan, and turn the heat to medium low. This will help render the fat out of the skin, and make it crispy. Don't move the chicken around, either. if you don't touch it for 8-10 minutes, it will become golden brown. Photobucket Pictures, Images and Photos Photobucket Pictures, Images and Photos Remove chicken when browned, and spoon off the schmaltz. If you're like me, you save that like you would bacon fat. Turn heat to low and add your onions and garlic, and cook until soft. Photobucket Pictures, Images and Photos Photobucket Pictures, Images and Photos I could have let that brown some more. It can easily get browner than this without burning. Add the tomato paste, cook for a couple of minutes, then add the cooked chickpeas and harissa, and cook for a few more minutes. Throw in a half cup of broth (dealer's choice). Photobucket Pictures, Images and Photos Photobucket Pictures, Images and Photos Photobucket Pictures, Images and Photos Photobucket Pictures, Images and Photos Nestle the chicken thighs into the chickpea mixture, and toss into a 400 degree oven for about 20 minutes, or until the chicken is cooked through. Photobucket Pictures, Images and Photos Photobucket Pictures, Images and Photos Remove chicken, squeeze some lemon juice into the chickpeas, and serve. Photobucket Pictures, Images and Photos

Friday, January 17, 2014

Spicy Soba Noodle Soup

This is really pretty easy.  But the flavors are huge.

Start with some ground meat (this is dark turkey, but pork would work very well), and add garlic, ginger, black pepper, red pepper flakes (my aunt got me this stuff from Utica called, you guessed it, "Utica Red Pepper", and it seems to be red pepper flakes with all the seeds removed.  It's interesting), and cumin.  Combine well.

Photobucket Pictures, Images and Photos

Sear/fry the mixture in a pot until browned and crumbly.  Add a combination of mushroom and chicken stock (one for depth, one for body), bring to a boil, and let simmer for 10 minutes, so the spices in the meat work into the liquid.

Photobucket Pictures, Images and Photos

Add chopped beet greens (mustard greens would work, too.  Or anything similar), scallions, soy sauce, fish sauce, lemon juice, and lime juice.  Simmer another 3 to 4 minutes, until the leaves are just tender.  Try not to overcook them.
Photobucket Pictures, Images and Photos

Meanwhile, cook some soba noodles according to the package (boiling water for X minutes).  These were made with mugwort, which explains the color.  I dunno.  Sounded interesting when I bought it.
Photobucket Pictures, Images and Photos

To plate, put some noodles in the bottom of a bowl, spoon soup on top, and finish with cilantro and more scallions.
Photobucket Pictures, Images and Photos

Wednesday, January 15, 2014

Mushroom Stock

So, as much as I love making my own chicken stock, there's always room for variety, and mushroom stock (ok, broth -- whatever you want to call it) has the opportunity for a great depth of flavor.  Plus, it's a lot faster to make than chicken stock.

First, slice and rinse some leeks.
Photobucket Pictures, Images and Photos

Clean and chop the following: Carrots, onion, mushrooms, celery, garlic, and parsley.
Photobucket Pictures, Images and Photos

Sweat the leeks with a splash of olive oil over low heat until softened.  NOTE: Because this isn't made to be a stand alone dish, I do not add any salt.  Any salty component will be added as you cook with it.
Photobucket Pictures, Images and Photos

Add the rest of the veggies, raise heat just a bit, and cook until everything has seen some heat.
Photobucket Pictures, Images and Photos

Add a lot of water (9 cups or more).  The amount of veggies you use and the level of flavor concentration you want should determine the water level.  Bring just to a boil, then reduce heat to a simmer and cook 20 minutes to half an hour.
Photobucket Pictures, Images and Photos

Strain everything through a china cap or fine-mesh sieve.  The liquid, of course, should be going  back in the pot (or, you can be lazy like me and just use another pot).
Photobucket Pictures, Images and Photos

Bring the liquid to a boil, and reduce by about one cup.  Should take you 15-20 minutes.
Photobucket Pictures, Images and Photos

Let cool, and skim the surface for any leftover particulates and oil.
Photobucket Pictures, Images and Photos

Next up, I'll show you what I'm using this for.  Or, I'll show you for what I am using this.


Monday, January 13, 2014

Don't be scared: Salmon Heads and Beets with Miso Dressing

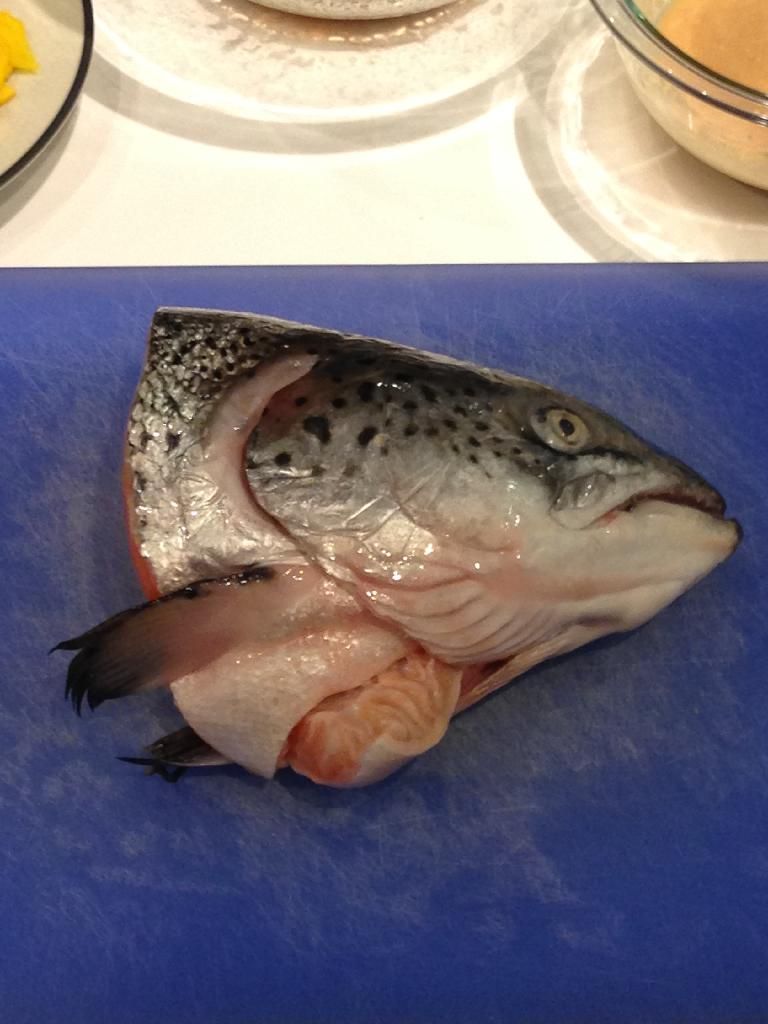
I don't know if you've heard, but some of the best meat on a fish is right behind the gills, called the "collar".  Equally good are the cheeks, which are, literally, the cheeks of the fish.  If you're cringing, then you're the other reason I love this dish: Because of most people's view of fish heads, you can get the best part of the fish for about a dollar a pound.  Enough talk; let's cook.

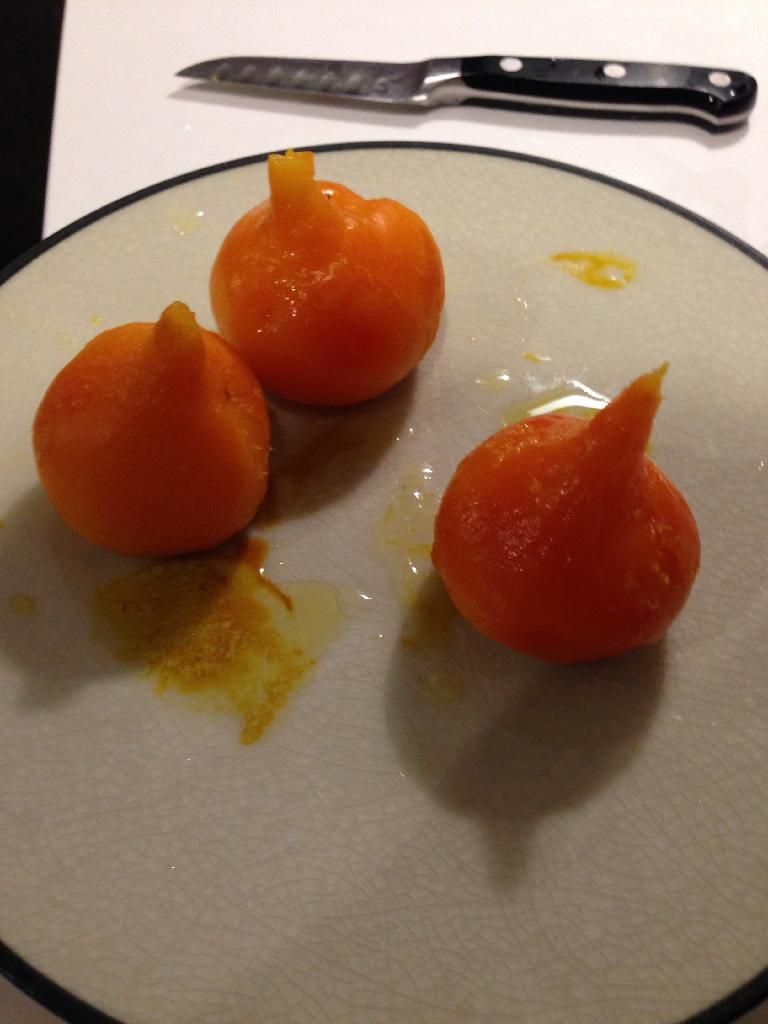
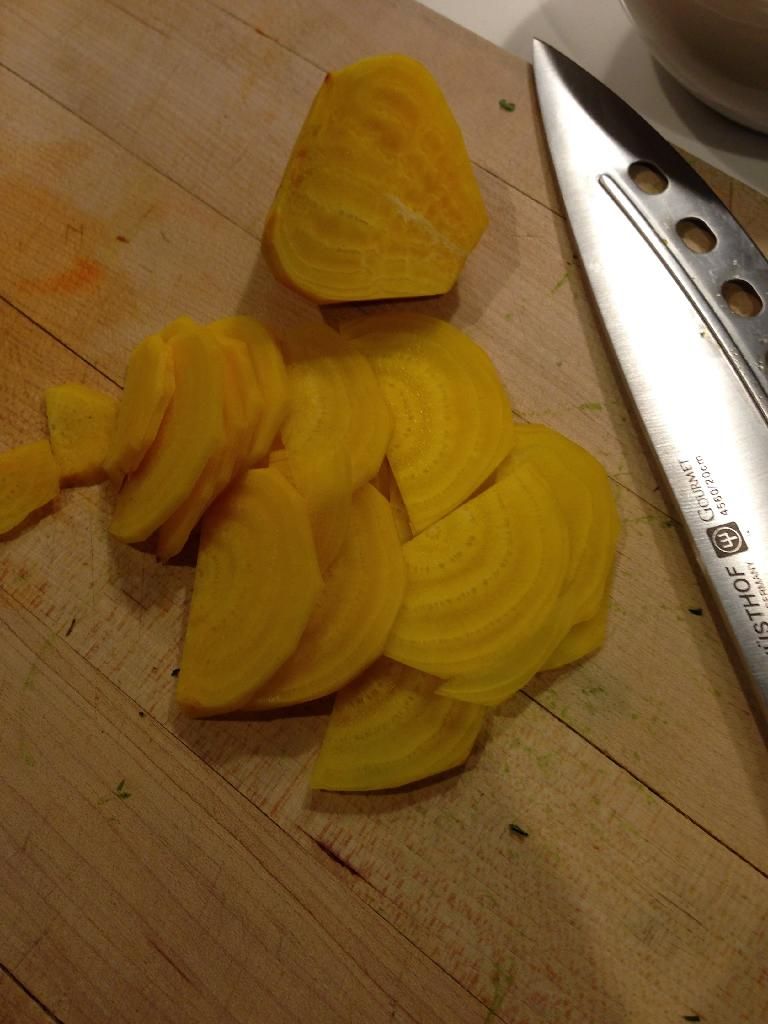
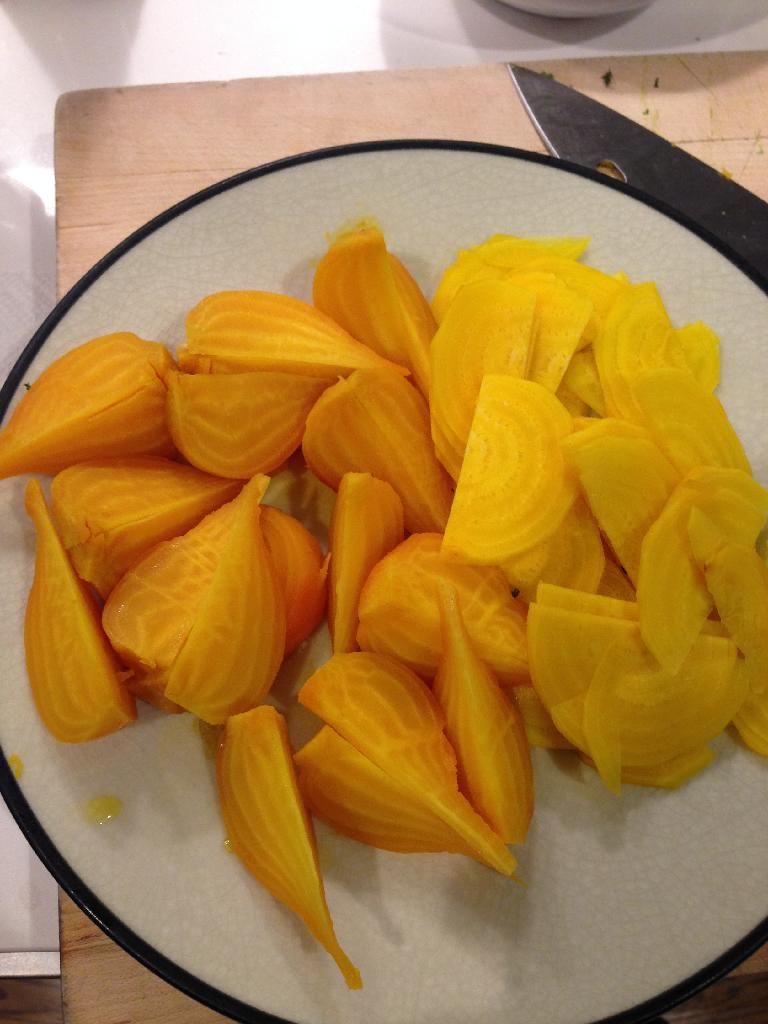
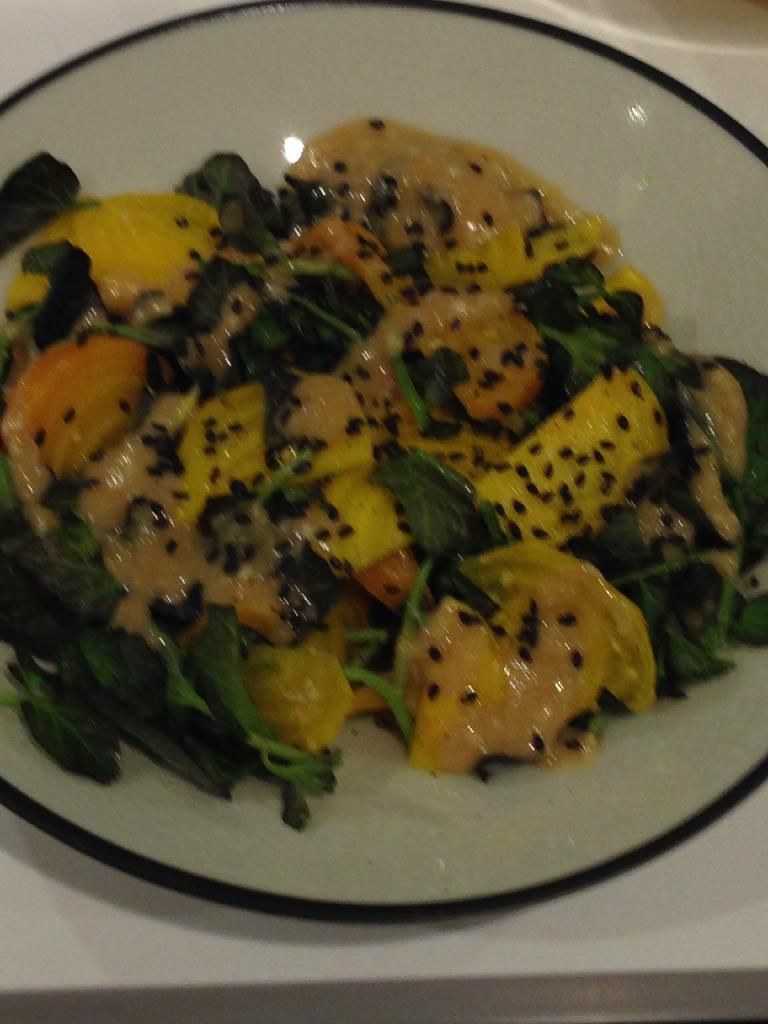
Start with the salad.  Roast some golden beets, let cool, and cut into wedges.  Save one raw beet, and slice thinly.
Photobucket Pictures, Images and Photos

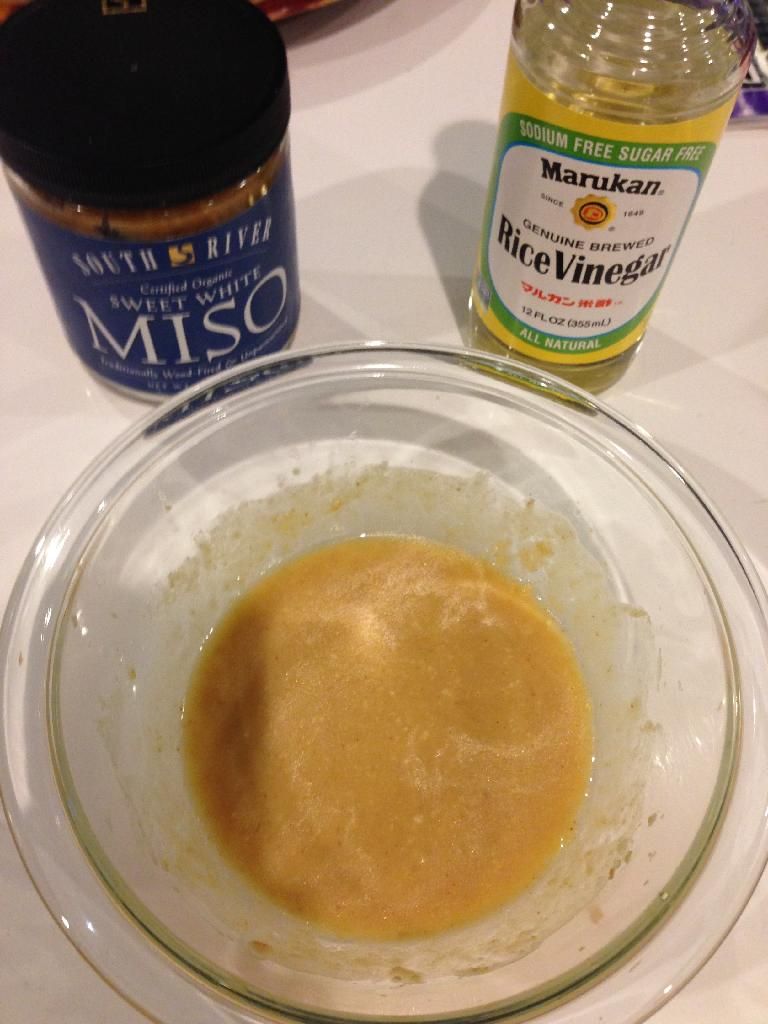
For the dressing, combine white miso paste, rice wine vinegar, olive oil, mirin, ginger, garlic, and a pinch of ground chili pepper (it's mainly miso and vinegar.  Add the other flavors to that as you see fit).
Photobucket Pictures, Images and Photos

Wash and dry some watercress (shown: red watercress).
Photobucket Pictures, Images and Photos

Toast some black sesame seeds (you can use regular, if you want).
Photobucket Pictures, Images and Photos

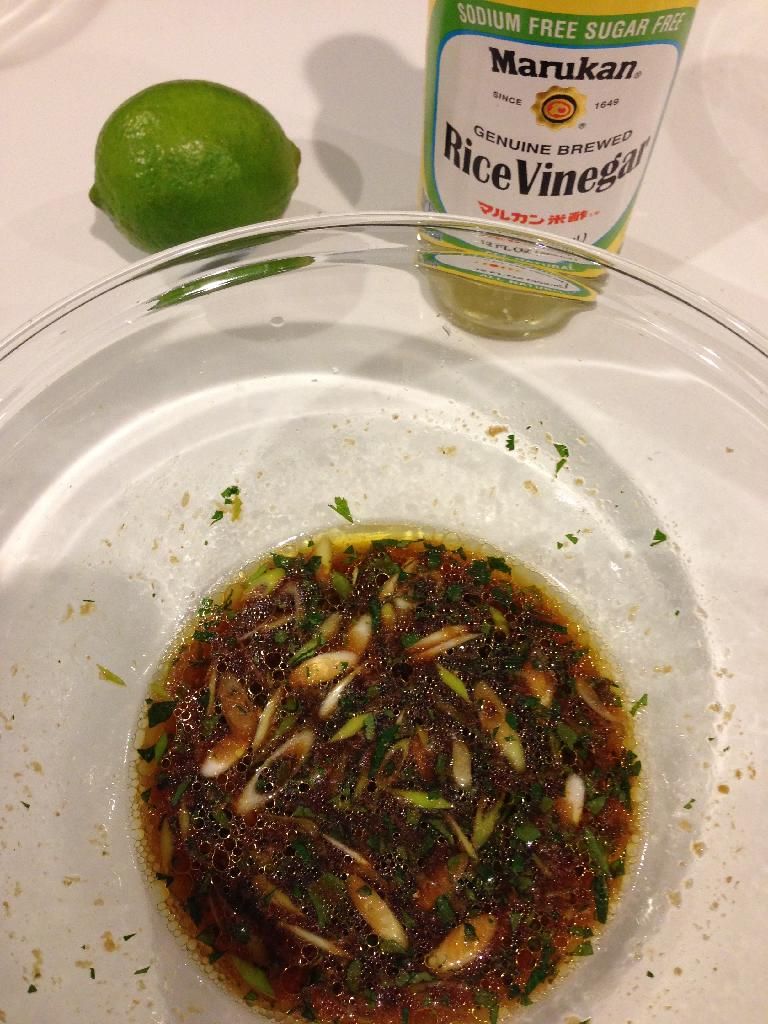
We'll assemble that later.  Let's get started on the fish.  First, the dressing.  Combine: Soy Sauce, Fish Sauce, Mirin, Ginger, Garlic, Cilantro, Agave, Sriracha (or however you spell it), Sesame Oil, and Scallions.
Photobucket Pictures, Images and Photos

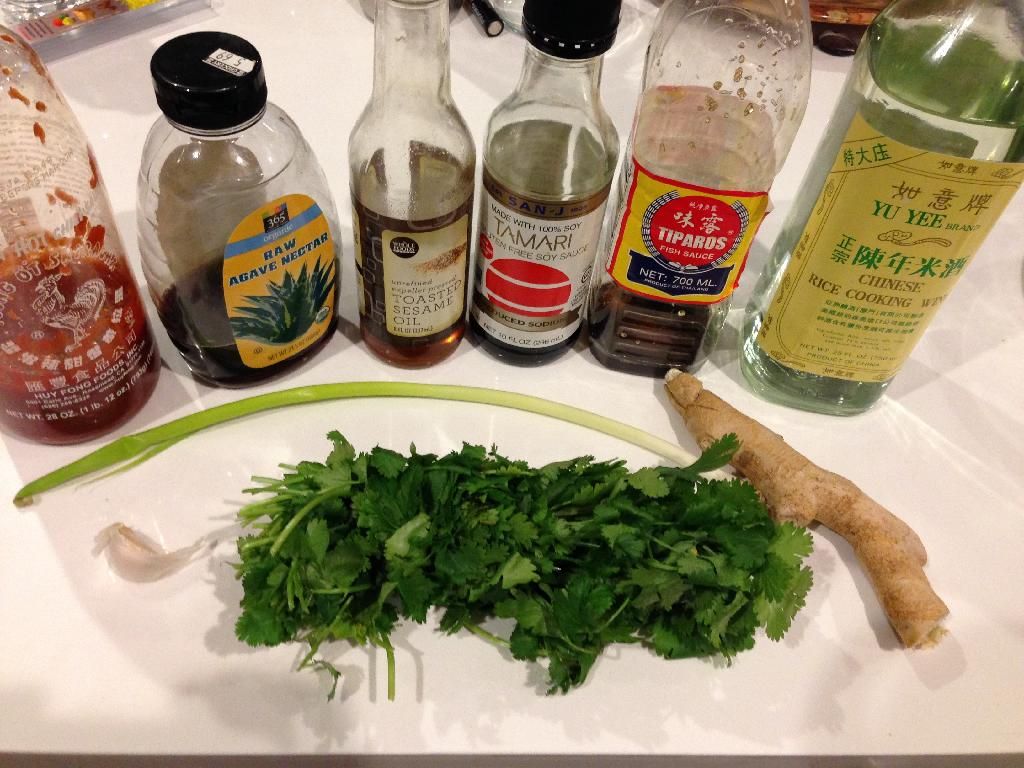
Oh, some rice wine vinegar and lime juice, too.
Photobucket Pictures, Images and Photos

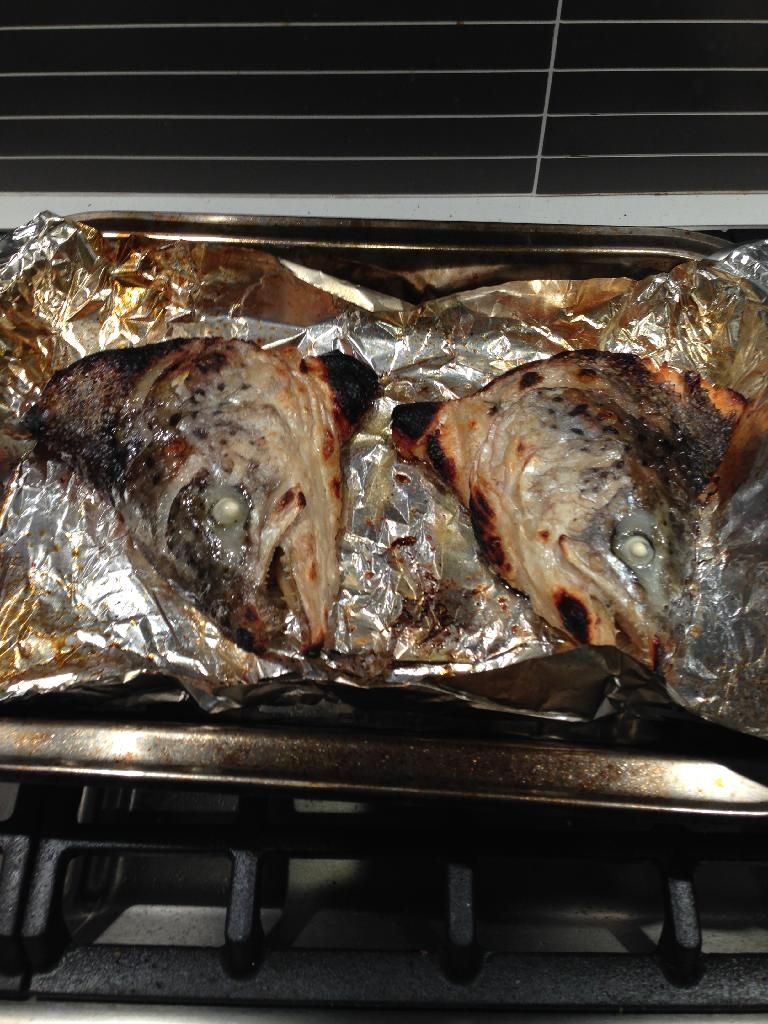
Now, on to the fun stuff.  Look at that beautiful head!  Split it in two.  This may take some effort, and a butcher's knife.
Photobucket Pictures, Images and Photos

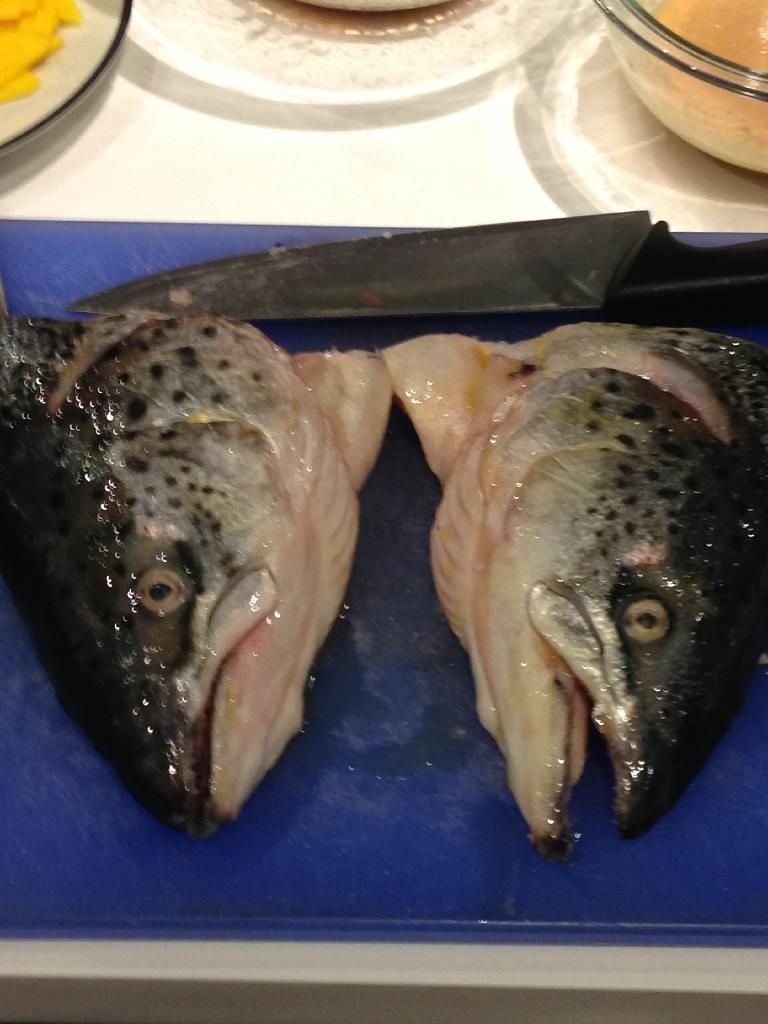
Drizzle on some olive oil and salt, turn on your broiler, and broil about six inches away from the heating element, skin side down, for about six minutes.  Flip, and broil about five minutes more.
Photobucket Pictures, Images and Photos

Meanwhile, prepare the salad by tossing the raw and cooked beets with a little bit of miso dressing, then plating with the watercress, more dressing drizzled over top, and the sesame seeds.
Photobucket Pictures, Images and Photos

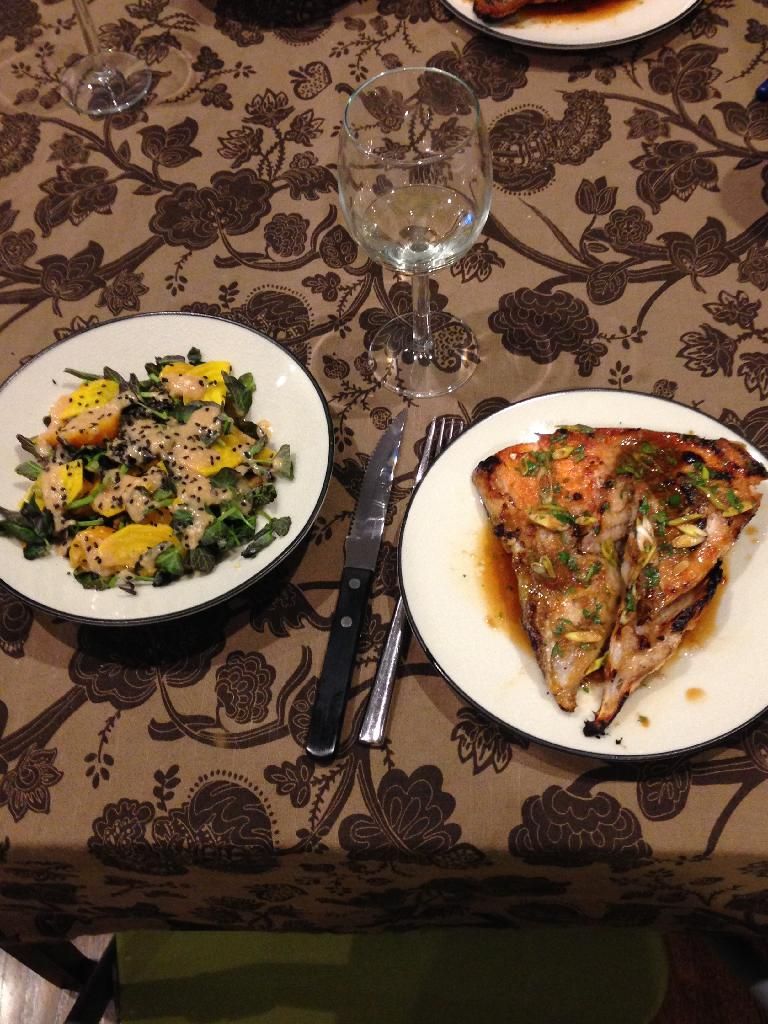
If you don't want your food staring at you while you eat it, flip it skin side down, and then spoon the soy sauce mixture over top.  You're not going to believe how good this tastes.
Photobucket Pictures, Images and Photos

[NOTES IN RETROSPECT]
The raw beets have a very firm texture, and might do better as matchsticks rather than slices.  In addition, the miso dressing could have been a bit thinner.  Also, consider removing the gills, as they are inedible, and may add a slight funk to the meat around the jaw.